Mastering Your Unity Tactical Hot Buttons and Axons: Innovative Setups for Optimal Performance
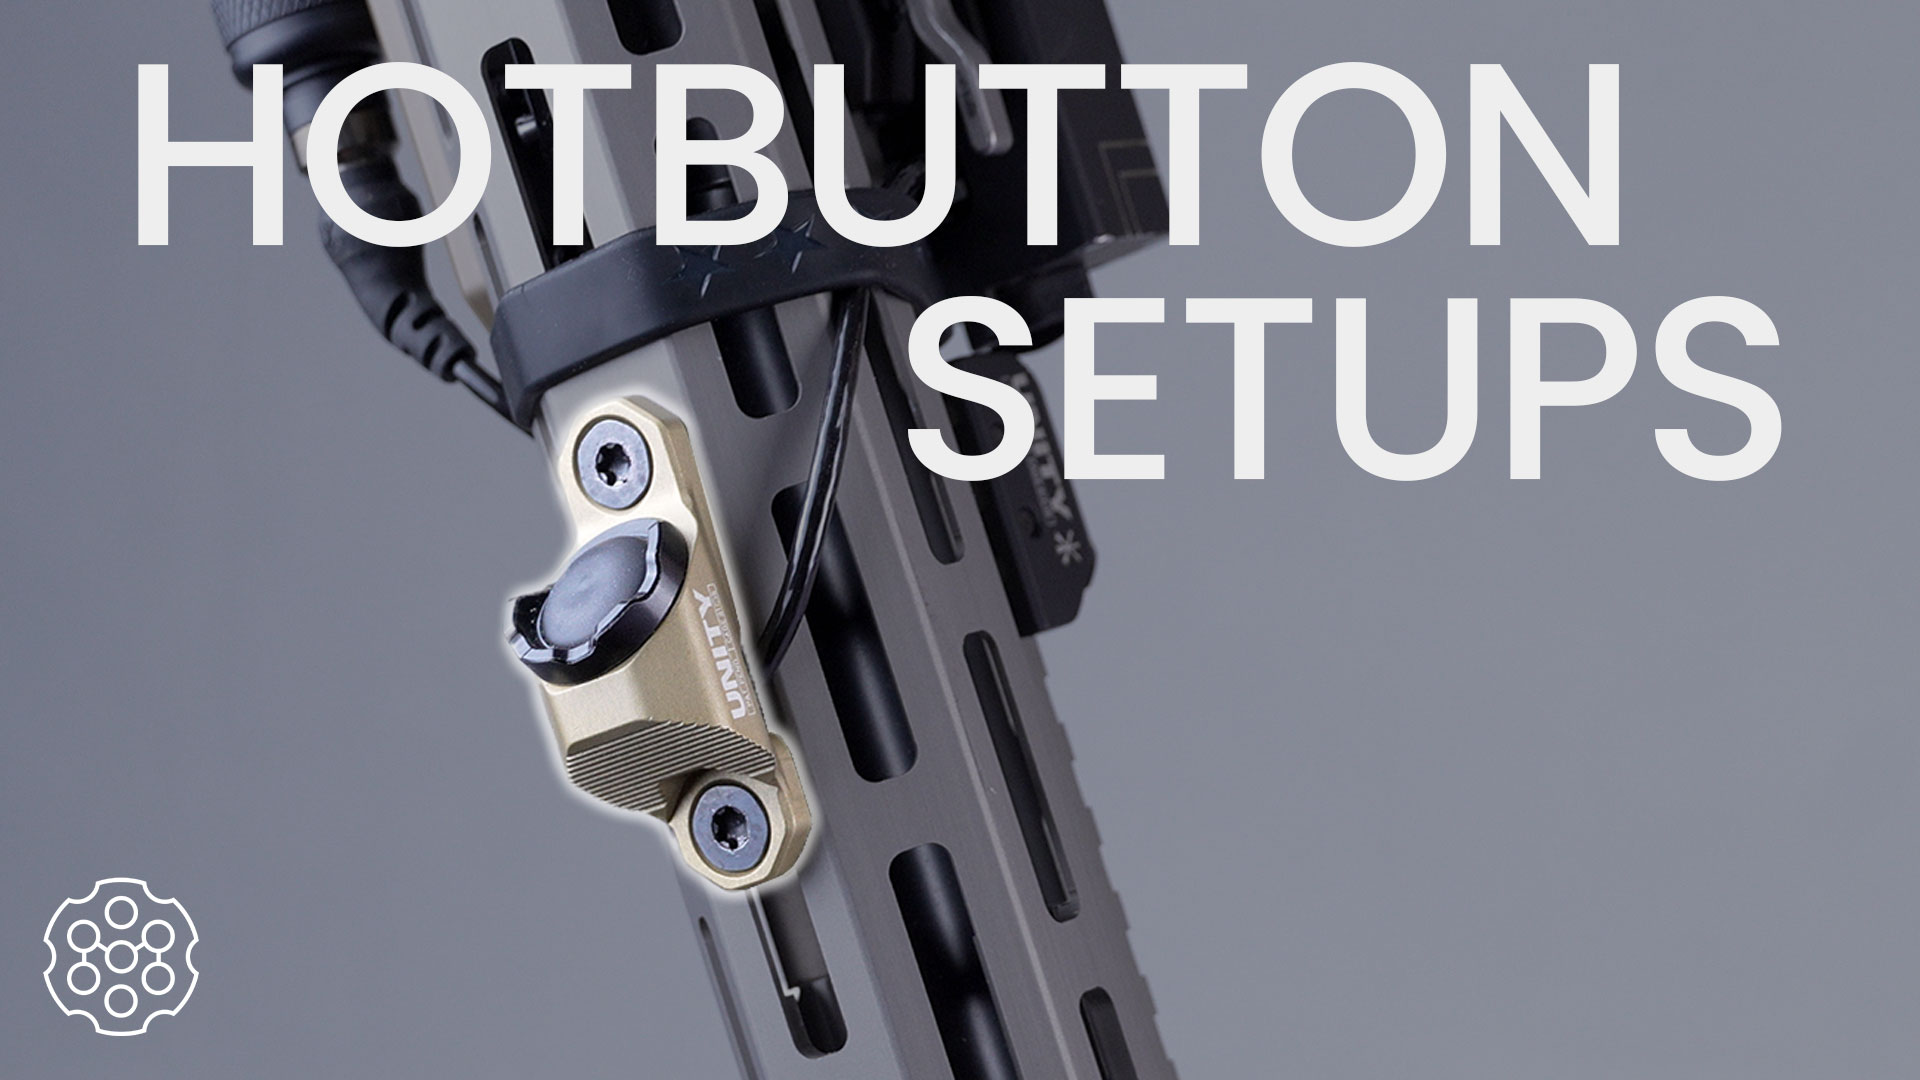
Today we’re diving into some cool ways to set up your Unity Tactical Hot Buttons and Axons. Whether you’re a seasoned pro or new to these compact and versatile switches, this guide will provide you with fresh ideas to optimize your setup. Let’s get started by discussing what makes the Hot Buttons and Axons unique.
Understanding Unity Tactical Hot Buttons and Axons
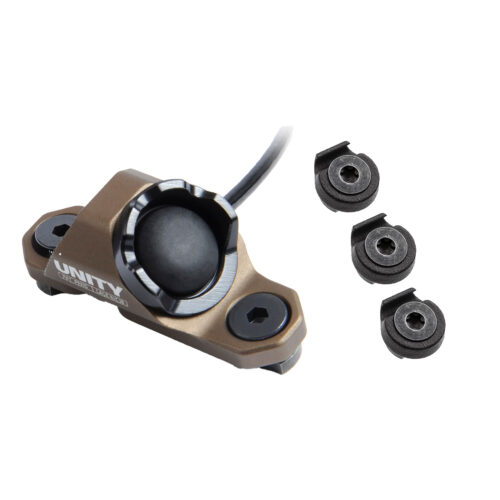
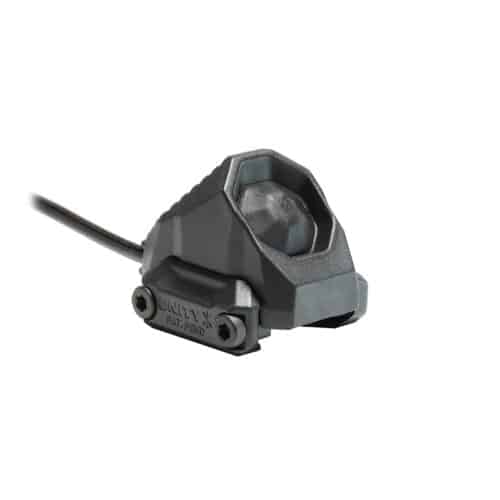
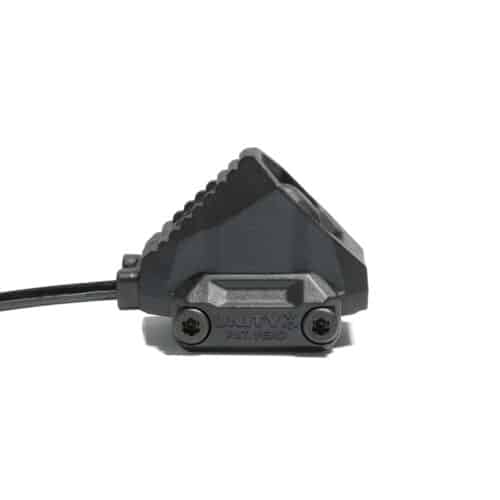
Unity Tactical’s Hot Buttons and Axons are small-footprint switches designed for direct mounting onto rails, whether Picatinny or M-LOK. Featuring a 45° engagement surface, these switches are compatible with a variety of devices and come in different lead options, including Crane plugs, USB-C, and Unity’s new Link system. They also offer SureFire options and versions compatible with the NG series. With this versatility, you can customize your setup to meet your specific needs.
Traditional Setup: The Go-To Configuration
The most traditional or common setup involves mounting the switch at the 12 o’clock position or on the support hand side using an M-LOK model. Whether at a 45° angle or directly off the side, this configuration is straightforward, ergonomic, and easy to access. It’s how the Hot Button and Axon were originally designed to be used, offering a solid and reliable option for most users.
Alternative Setups for Enhanced Functionality
1. Crossover Setup: Ideal for Night Vision
A personal favorite is the crossover setup. Based on the traditional configuration, it involves mounting a 45° Hot Button or Axon on the opposite side of the support side. This setup is particularly useful for night vision use. When you cant your gun over, the 45° switch aligns at the 12 o’clock position, making it intuitive and quick to activate, especially if you’re pairing it with a laser.
2. Reverse Method: Pull to Activate
For those who prefer pulling rather than pushing to activate their lights, the reverse method is an excellent choice. In this setup, the Hot Button or Axon is flipped around and mounted at the 12 o’clock position on top of the rail. This configuration provides a ramp surface to pull against, reducing the risk of accidental activation and enhancing safety. It’s a great option if you’re looking for a secure and reliable setup.
3. Lower 45° Hand Stop Setup: Intuitive Activation
Building on the reverse setup, the lower 45° hand stop method involves mounting an M-LOK version of the Hot Button or Axon at the 6 o’clock position or one of the lower 45° angles. This placement offers a forward hand stop, allowing you to wrap your index finger around for activation. It’s intuitive and flexible, enabling simultaneous or independent activation of multiple devices. However, be cautious as this setup may increase the risk of accidental activation when bracing against uneven surfaces.
Conclusion: Try Out These Setups
We hope these innovative setups give you some fresh ideas for configuring your Unity Tactical Hot Buttons and Axons. Whether you stick with the traditional setup or experiment with the alternative methods, each offers unique benefits tailored to different operational needs. Give them a try and see which works best for you.
Products Featured in Article

Unity Tactical Hot Button Laser Lead + Emissary Cable Clip Package
Out of stock
Unity Tactical AXON SL – LINK USB-C
Out of stock


Unity Tactical AXON – LINK USB-C – NGAL
Out of stock
Unity Tactical AXON – LINK USB-C – DBAL
Out of stock